Friday, August 1, 2025

What’s the best way to outsource video editing for YouTube or Instagram Reels?

 As a content creator or brand, outsourcing video editing can save you hours of work and boost your content quality - if you find the right team.

I run a team called Inside Editors - we specialize in fast, high-quality video editing for YouTube, Reels, TikTok, podcasts, and more. We've worked with over 1,000 creators globally and deliver consistent, studio-quality results with a fast turnaround.


  • Google Redirect


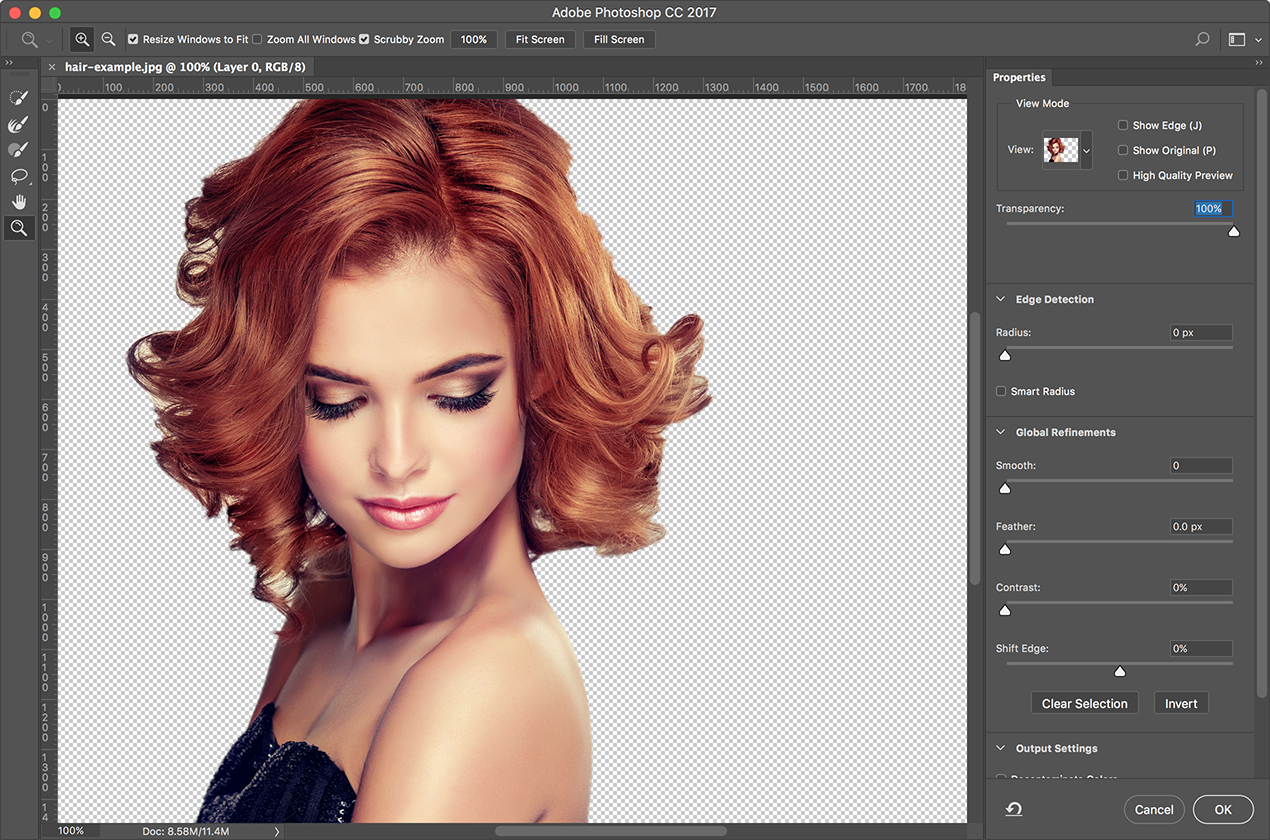
  • Whether you need jump cuts, color correction, motion graphics, or a complete Reels package, we’ve got you covered.

    🔗 Learn more:

    Google Redirect

    Facebook Link

    YouTube Redirect

    LinkedIn Redirect
    Google Redirect with Linkdin


    We also offer bulk editing packages and AI-enhanced workflows to help creators scale without losing quality.

    DM me if you’d like to see some samples or want help editing your next video.


    https://maps.google.com/url?sa=t&url=http%3A%2F%2Finsideeditors.com

    https://www.google.com/url?q=http%3A%2F%2Finsideeditors.com

    https://l.facebook.com/l.php?u=http%3A%2F%2Finsideeditors.com

    https://www.youtube.com/redirect?q=http%3A%2F%2Finsideeditors.com

    https://www.linkedin.com/redir/redirect?url=https%3A%2F%2Finsideeditors%2Ecom%2F&urlhash=VKB-&trk=article-ssr-frontend-pulse_little-text-block

    https://t.me/iv?url=http%3A%2F%2Finsideeditors.com


    https://na1.documents.adobe.com/public/esign?redirectUri=http%3A%2F%2Finsideeditors.com

    https://www.evernote.com/shard/s1/sh/redirect?url=http%3A%2F%2Finsideeditors.com

    https://avatars.githubusercontent.com/u/1?v=4&redirect=http%3A%2F%2Finsideeditors.co

    maps.google.com/url?sa=t&url=http%3A%2F%2Finsideeditors.com

    images.google.de/url?sa=t&url=http%3A%2F%2Finsideeditors.com

    images.google.co.uk/url?sa=t&url=https%3A%2F%2Finsideeditors.com

    maps.google.co.uk/url?sa=t&url=https%3A%2F%2Finsideeditors.com

    images.google.co.jp/url?sa=t&url=http%3A%2F%2Finsideeditors.com

    images.google.fr/url?sa=t&url=http%3A%2F%2Finsideeditors.com

    maps.google.fr/url?sa=t&url=https%3A%2F%2Finsideeditors.com

    maps.google.es/url?sa=t&url=http%3A%2F%2Finsideeditors.com

    images.google.es/url?sa=t&url=http%3A%2F%2Finsideeditors.com

    images.google.it/url?sa=t&url=https%3A%2F%2Finsideeditors.com

    maps.google.com.br/url?sa=t&url=https%3A%2F%2Finsideeditors.com%2F

    maps.google.ca/url?sa=t&url=http%3A%2F%2Finsideeditors.com

    maps.google.com.hk/url?sa=t&url=http%3A%2F%2Finsideeditors.com

    maps.google.nl/url?sa=t&url=http%3A%2F%2Finsideeditors.com

    images.google.nl/url?sa=t&url=http%3A%2F%2Finsideeditors.com

    images.google.co.in/url?sa=t&url=https%3A%2F%2Finsideeditors.com

    images.google.ru/url?sa=t&url=https%3A%2F%2Finsideeditors.com

    maps.google.pl/url?sa=t&url=http%3A%2F%2Finsideeditors.com

    maps.google.com.au/url?sa=t&url=http%3A%2F%2Finsideeditors.com

    images.google.com.au/url?sa=t&url=http%3A%2F%2Finsideeditors.com

    images.google.com.tw/url?sa=t&url=http%3A%2F%2Finsideeditors.com

    maps.google.com.tw/url?sa=t&url=http%3A%2F%2Finsideeditors.com

    images.google.co.id/url?sa=t&url=http%3A%2F%2Finsideeditors.com

    images.google.com/url?sa=t&url=http%3A%2F%2Finsideeditors.com

    images.google.at/url?sa=t&url=http%3A%2F%2Finsideeditors.com

    maps.google.at/url?sa=t&url=http%3A%2F%2Finsideeditors.com

    images.google.cz/url?sa=t&url=http%3A%2F%2Finsideeditors.com

    maps.google.co.th/url?sa=t&url=http%3A%2F%2Finsideeditors.com

    maps.google.com.ua/url?sa=t&url=http%3A%2F%2Finsideeditors.com

    maps.google.com.tr/url?sa=t&url=http%3A%2F%2Finsideeditors.com

    maps.google.com.mx/url?sa=t&url=https%3A%2F%2Finsideeditors.com

    images.google.dk/url?sa=t&url=https%3A%2F%2Finsideeditors.com

    maps.google.dk/url?sa=t&url=https%3A%2F%2Finsideeditors.com


    Thursday, April 18, 2019

    Quick Hair Masking Tutorial For Bargainer - Image Editing Service

    QUICKLY SELECT HAIR IN PHOTOSHOP CC USING 'SELECT AND MASK'

    In this blog post, I will be showing you a great method of selecting hair in Photoshop CC. I will be using the 'Select and Mask’ tool which is quick and easy to use, but also produces effective results.Image Work India Clipping Path Service Photo Retouching Service Remove Background Service Provider Color Correction Service Ecommerce Photo Editing Service Ghost Mannequin Service Image Masking Service Jewelry Retouching Service Shadow Creation Service

    images.google.de/url?sa=t&url=https%3A%2F%2Fcloudretouch.com/product-photo-editing-companies/%2F
    images.google.co.uk/url?sa=t&url=https%3A%2F%2Fcloudretouch.com/product-photo-editing-companies/%2F
    images.google.co.uk/url?sa=t&url=https%3A%2F%2Fcloudretouch.com/product-photo-editing-companies/%2F
    images.google.co.jp/url?sa=t&url=https%3A%2F%2Fcloudretouch.com/product-photo-editing-companies/%2F
    images.google.fr/url?sa=t&url=https%3A%2F%2Fcloudretouch.com/product-photo-editing-companies/%2F
    maps.google.fr/url?sa=t&url=https%3A%2F%2Fcloudretouch.com/product-photo-editing-companies/%2F
    maps.google.es/url?sa=t&url=https%3A%2F%2Fcloudretouch.com/product-photo-editing-companies/%2F
    images.google.es/url?sa=t&url=https%3A%2F%2Fcloudretouch.com/product-photo-editing-companies/%2F
    images.google.it/url?sa=t&url=https%3A%2F%2Fcloudretouch.com/product-photo-editing-companies/%2F
    maps.google.com.br/url?sa=t&url=https%3A%2F%2Fcloudretouch.com/product-photo-editing-companies/%2F%2F

    First, select a suitable image to make your selection from. For better results, it is important that your subject has good contrast against the background. In this example, I am using an image downloaded from Istock. I should also point out at this stage, that hair selection does have it's limitations. For example, taking a selection from a subject against a light background won't work very well if you plan to put it against a dark background.


    STEP 1


    Open your image in Photoshop CC. Then, click on one of the selection tools (in this example I have the quick selection tool selected, but you could use Marquee or Lasso, etc). Now, click on the 'Select and Mask' button on the top toolbar. This will open up the Select and Mask window.

    STEP 2


     Now we are working in the 'Select and Mask' tool, using the 'Onion Skin' view mode. Reduce the transparency down to around 50% so that you can see the image you wish to select.

    STEP 3


    Using the ‘Quick selection’ tool in the left toolbar, roughly brush over the area you wish to select. As you brush, large areas will be revealed in chunks. This is the quick selection tool working out the areas that are similar in tone & colour to make an estimated selection. Make sure the majority of your subject is selected, but don’t worry about the detailed hair areas, we will move onto those shortly.

    STEP 4

    Background Removal Service Providers Background Removal Service Providers Background Removal Service Providers Background Removal Service Providers Background Removal Service Providers Background Removal Service Providers Background Removal Service Providers Background Removal Service Providers Background Removal Service Providers Background Removal Service Providers Background Removal Service Providers


    Now you have a selection, take the transparency back up to 100%. You can see it’s not bad for a quick selection, but some parts of the hair are missing and you can see bits of the background coming through the hair in certain areas.

    STEP 5


    Here we will begin to refine our hair selection using the ‘Refine edge brush tool’. During this process, it is a good idea to take the transparency up/down to see the areas that are missing/selected.
    https://maps.google.com/url?sa=t&url=http%3A%2F%2Finsideeditors.com
    https://www.google.com/url?q=http%3A%2F%2Finsideeditors.com
    https://l.facebook.com/l.php?u=http%3A%2F%2Finsideeditors.com
    https://www.youtube.com/redirect?q=http%3A%2F%2Finsideeditors.com
    https://www.linkedin.com/redir/redirect?url=https%3A%2F%2Finsideeditors%2Ecom%2F&urlhash=VKB-&trk=article-ssr-frontend-pulse_little-text-block
    https://t.me/iv?url=http%3A%2F%2Finsideeditors.com
    https://na1.documents.adobe.com/public/esign?redirectUri=http%3A%2F%2Finsideeditors.com
    https://www.evernote.com/shard/s1/sh/redirect?url=http%3A%2F%2Finsideeditors.com
    https://avatars.githubusercontent.com/u/1?v=4&redirect=http%3A%2F%2Finsideeditors.co
    maps.google.com/url?sa=t&url=http%3A%2F%2Finsideeditors.com
    images.google.de/url?sa=t&url=http%3A%2F%2Finsideeditors.com
    images.google.co.uk/url?sa=t&url=https%3A%2F%2Finsideeditors.com
    maps.google.co.uk/url?sa=t&url=https%3A%2F%2Finsideeditors.com
    images.google.co.jp/url?sa=t&url=http%3A%2F%2Finsideeditors.com
    images.google.fr/url?sa=t&url=http%3A%2F%2Finsideeditors.com
    maps.google.fr/url?sa=t&url=https%3A%2F%2Finsideeditors.com
    maps.google.es/url?sa=t&url=http%3A%2F%2Finsideeditors.com
    images.google.es/url?sa=t&url=http%3A%2F%2Finsideeditors.com
    images.google.it/url?sa=t&url=https%3A%2F%2Finsideeditors.com
    maps.google.com.br/url?sa=t&url=https%3A%2F%2Finsideeditors.com%2F
    maps.google.ca/url?sa=t&url=http%3A%2F%2Finsideeditors.com
    maps.google.com.hk/url?sa=t&url=http%3A%2F%2Finsideeditors.com
    maps.google.nl/url?sa=t&url=http%3A%2F%2Finsideeditors.com
    images.google.nl/url?sa=t&url=http%3A%2F%2Finsideeditors.com
    images.google.co.in/url?sa=t&url=https%3A%2F%2Finsideeditors.com
    images.google.ru/url?sa=t&url=https%3A%2F%2Finsideeditors.com
    maps.google.pl/url?sa=t&url=http%3A%2F%2Finsideeditors.com
    maps.google.com.au/url?sa=t&url=http%3A%2F%2Finsideeditors.com

    Brush over any detailed hair areas that are missing from your selection with the ‘Refine edge brush tool’ (you can change your brush size & hardness from the brush dropdown in the top left). This will select the detailed hair areas & remove the contrasting background. I am using the default settings, but you can get different selection results by adjusting the global refinement options in the right hand panel.
    In this instance, I have zoomed in using the Zoom tool (magnifying glass) so I can see in better detail. Once zoomed in, press & hold the space bar to pan around the canvas. Use the ‘Refine edge brush tool’ over all the detailed hair areas on the image.

    STEP 6

    Clipping Path Clipping Path Clipping Path Clipping Path Clipping Path Clipping Path Clipping Path Clipping Path Clipping Path Clipping Path Clipping Path Best Clipping Path Companies Best Clipping Path Companies Best Clipping Path Companies Best Clipping Path Companies Best Clipping Path Companies Best Clipping Path Companies Best Clipping Path Companies Best Clipping Path Companies Best Clipping Path Companies Best Clipping Path Companies Best Clipping Path Companies 10 Best Clipping Path Companies 10 Best Clipping Path Companies 10 Best Clipping Path Companies 10 Best Clipping Path Companies 10 Best Clipping Path Companies 10 Best Clipping Path Companies 10 Best Clipping Path Companies 10 Best Clipping Path Companies 10 Best Clipping Path Companies 10 Best Clipping Path Companies 10 Best Clipping Path Companies


    Once you have finished using the 'Refine edge brush tool’, it is a good idea to look at your selection in different view modes to highlight any remaining discrepancies. Here, the ‘overlay view mode’ places the selection over a red background. You can still see some bits of the original light background coming through in some parts of the hair.

    STEP 7


    In the same way we did in step 5, we can zoom in once again and further tidy up those discrepancies with the ‘Refine edge brush tool’.

    STEP 8


    Back in ‘Onion Skin view’, you should zoom in and pan over your image to review it in detail. The ‘Refine edge brush tool’ isn’t perfect and there may be some mistakes you wish to manually rectify. Here you can see part of the woman’s neck is slightly transparent. Use the ‘Brush tool’ to manually go over any areas you wish to add to your selection. As before, you can adjust the brush settings as you require. You can spend as much or as little time perfecting your selection as you see fit.

    STEP 9


    Once you are happy with your selection, its time to choose your output settings & click ok. Here I am using the 'Layer Mask' option.
    As an example, I have put the woman against the skyline backdrop to highlight the effectiveness of the hair selection.